Gulrang & Tocsin’s hero ability offers what I’d argue is the strongest upside among the core set heroes, but it comes with a major drawback. The puzzle they ask you to solve is how to navigate the first five turns when the best cards in your deck prevent you from getting any closer to winning the game.
When I started playing the hero, I thought that my task for the early-game was to ignore my own expedition progress and block at all costs. I now believe this approach to be dead-wrong.
Even if you do an above-average job of blocking, if the expedition differential is great enough going into the late-game, your opponent can plan to win by dumping all of their resources on your weaker side over consecutive turns. Gulrang’s hero ability makes her a late-game powerhourse, but it still won’t be enough to 2-0 your opponent several turns in a row.
Ideally, you’ll want to enter your 8-mana turn at parity with your opponent, or close to it. Pushing is preferable to trading, under the assumption that your late-game will be stronger. This is achievable when you’re the second player and best positioned to block with boosted tokens.
When you’re the first player, however, you don’t have the luxury of leading with a token generator, since your opponent can just play to the other side and ignore your defender expedition. This means you need to be proactive on your first player turns and do your best to trade 1-1.
Since Gulrang & Tocsin are a late-game hero by nature, they need to have removal tools to deal with anything that can outpace your hero ability, such as powerful uniques, Haven, Bravos Bastion, The Monolith, Ordis Bastion, Hydracaena, Lyra Festival, Brassbug Hive, etc.
This is tricky for two reasons. The first is that removal spells don’t synergize with your hero ability (aside from Teamwork Training (R), which I’ve found to be one of Gulrang’s best cards precisely because it does). The second is that most of them are fleeting and therefore require a considerable amount of card draw so that you don’t run out of resources by the time you reach the late-game that you’ve been building towards.
Ordis Carrier (C)/(R) is a key card that can provide you with an advantage going into the late-game, but you need to be very careful about when you play it. You absolutely cannot afford to go 0-2 to get one down unless you’re already ahead, so you have to weave it into your curve or play it as an “after you” when you’re the first player and disadvantaged anyway. Keep in mind that playing it means shutting off expedition progress until your 8-mana turn. Don’t feel bad about putting it into mana if there’s no good window to deploy it.
Card choices
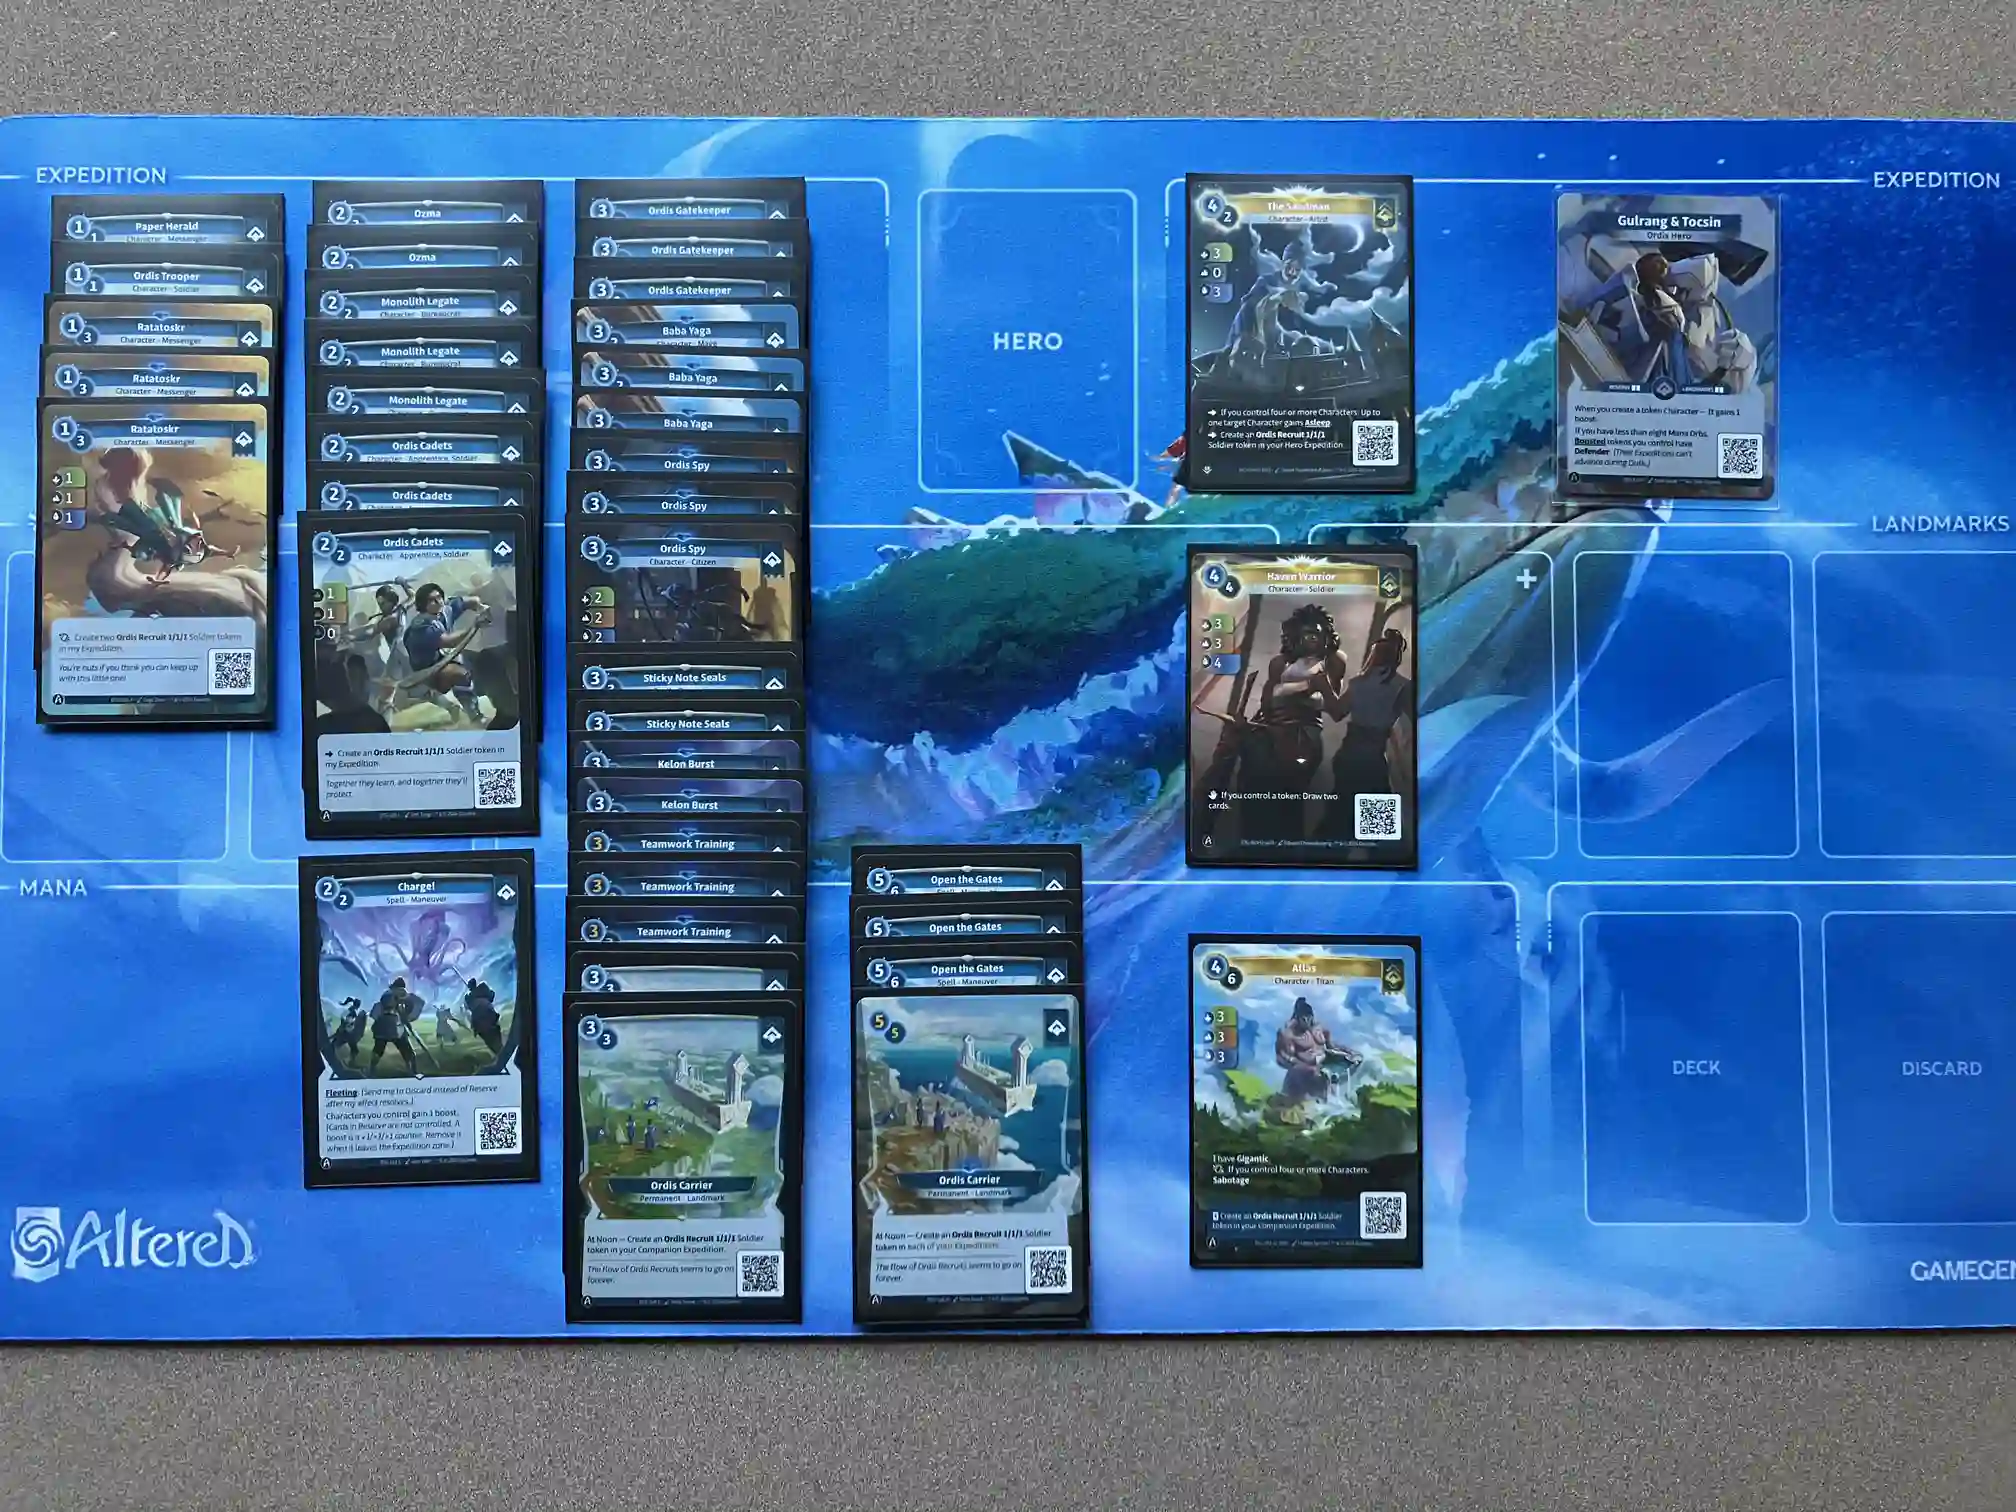
Cards included
- Ordis Carrier: My first build started with three copies of the rare, but I usually ended up going 0-2 on the turn I played it, which is a death sentence. The deck also folds hard when your opponent has removal for the rare. I started putting it into mana more often and realized I might be better off with three copies of the common, which is easier to play without giving up too much ground. The issue with the common was that I’d often lack the inevitability for the long game. I’ve settled on one copy of the rare and two of the common. The most important thing is not to fall too far behind when playing it: the long-term advantage means very little if it puts you in a position where you’ll have to block both sides for the rest of the game.
- Teamwork Training (R): This is an all-star for Gulrang. The common’s only weakness is that your opponent needs to present a solid target, whereas the rare is great even when you’re hitting something small. The upgrade to a 2/2/2 Recruit is meaningful, as it lets you engineer scenarios where you can swing both expeditions at the same time. It could still be worth including one copy of the common so you have access to a 2-mana removal spell.
- Open the Gates (C): This is a finisher that’s resilient to removal. I started with one or two copies of the rare, but since it’s expensive and I found myself playing it early in the afternoon to block, I usually ended up distributing the Recruits evenly anyway. The discount from reserve is nice, but I’ve decided it’s not worth a rare slot.
- Ordis Spy (R): Initially, I was running three copies of the common, but every time I played it for the sabotage, going down on tempo felt painful. The rare lets you invest in a strong play from reserve by virtue of it being a 2-mana 4/4/4 on the back side.
- Ordis Gatekeeper (C): While the rare is stronger at 8 mana and beyond, it’s a major disadvantage that it prevents you from advancing anytime before that. The common is perfectly serviceable and sometimes better. It often lets you go 1-1 in the early-game while forcing your opponent to make a real commitment of resources.
- Monolith Legate (C): It’s important to have a 2-drop that allows you to advance in the early-game. Playing this alongside a Recruit to guarantee a sabotage is nice when it comes up, but even when you run it out alone, it often forces awkward plays from your opponent.
- Baba Yaga (R)/Ozma (C): This deck plays for the late-game but includes quite a few cheap/fleeting cards, so you need enough card draw to sustain you.
- Kelon Burst (R)/Sticky Note Seals (C): Although it feels suboptimal to run fleeting spells that don’t benefit from Gulrang’s hero ability, these are necessary as a control deck so as not to lose to some of the cards listed in the section above.
- Charge! (C): When I make it to the late-game, I occasionally find I need an extra burst of power. It’s not as strong defensively, however, since you’ll often be in scenarios where your opponent only needs to contest one side, so boosting the other expedition is useless.
Cards excluded
- The Monolith, Ordis Bastion (C): I cut this pretty quickly. It requires some work to generate the 4/4/4 that an Ordis Carrier (R) would, yet it’s even more vulnerable to removal without an at-noon trigger. I could still see this being an inevitability option in a deck with fewer spells that either has a heavy permanent theme or doesn’t want to spend rare slots on Ordis Carrier (R).
- Foundry Mechanic (F): My first version of the deck started with three Mechanics, but rushing out an Ordis Carrier (R) didn’t feel very rewarding, since I would fall behind on expeditions and make it impossible for myself to advance. There’s something to be said for making a permanent easier to fit into your curve in the late-game, but I found it rare to have these in reserve at just the right moment since the current list runs very few permanents.
- Jeanne d’Arc: I dreamed that this would help set up a window where you could safely drop a permanent, but it’s not worth it if it means you go 0-2 on the turn you play this.
- Haven Trainee (F): The reserve effect looks tempting, but it’s not a great defensive body on the front-end, and it’s very vulnerable to sabotage. Since it costs 4 mana from reserve and distributes evenly, your opponent won’t have trouble taking one side while the Recruits prevent you from advancing.
- Thoth (R): Once in a while, this would block alongside a defender Recruit while generating 4/4/4 for the next day, which felt amazing. More often, though, it was a just 3/3/2 that my opponent would ignore and play to the other side of in the early-game, or else I was close enough to losing that I just needed it for its stats.
- Ordis Cadets (R): The fact that the rare doesn’t shut off progression for the non-token part of the card is a significant upside. The common is already one of the deck’s better commons, but it could be worth shifting rare slots around in a version of the deck that plays even harder for the early-game.
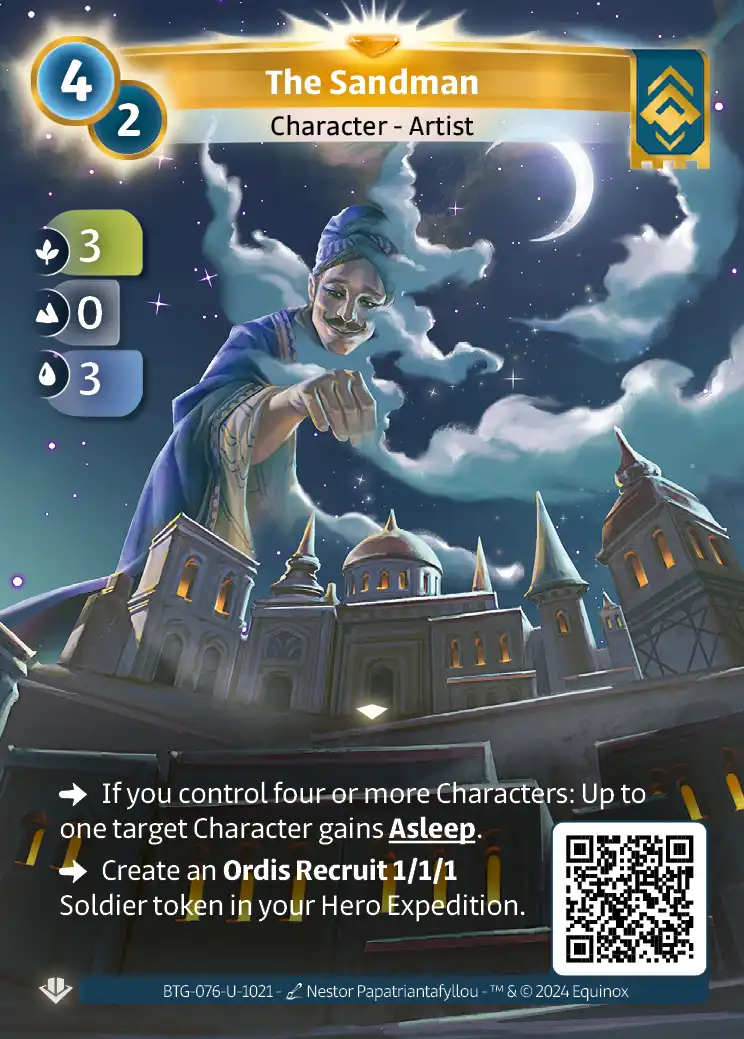
- The Sandman (F): Being on the back foot means sleeping an opponent’s character is usually just delaying the problem to the next day, and sleeping your own character risks your opponent edging out a critical day.
Uniques

The Sandman: 5/7
The front side is solid for Gulrang at 4 mana, providing 5/2/5 and a sleep effect if there are two characters on board beforehand. It shines from reserve, where you get the same effect for a mere 2 mana.

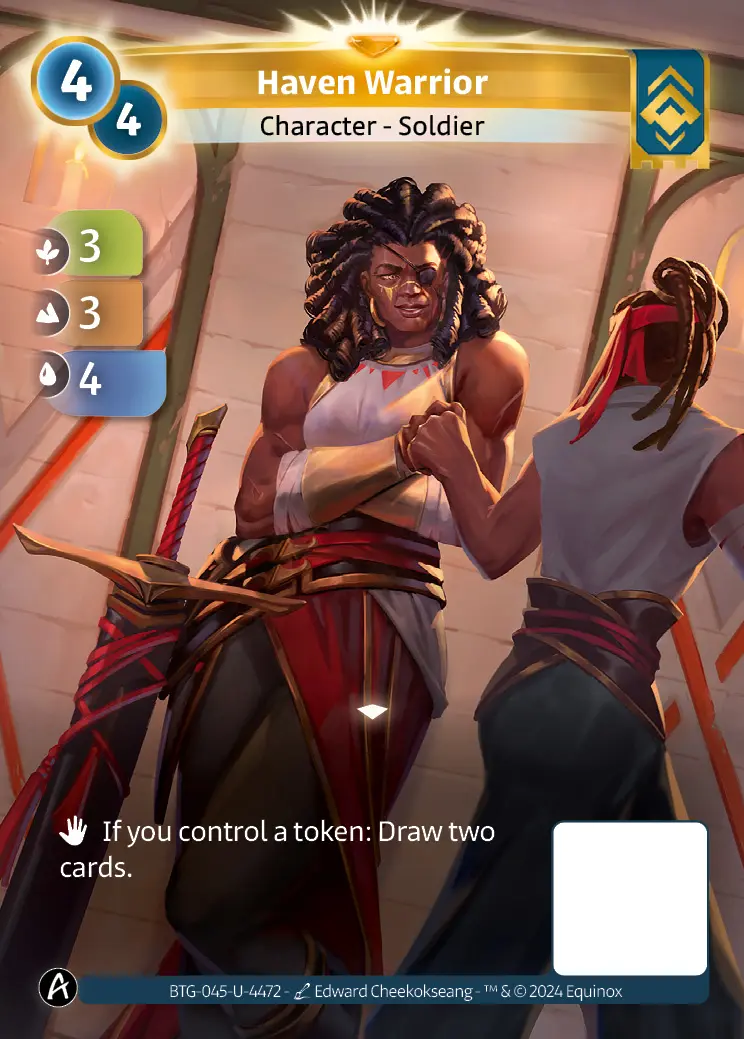
Haven Warrior: 5/7
For Sigismar & Wingspan, this is an unconditional two-card refuel for only a small dip in stats. It’s not quite as strong out of Gulrang, where you can’t realistically play it until you have 6+ mana barring an Ordis Carrier or a support ability. Still, two cards is a lot, and it’s exactly what this deck needs to sustain itself into the late-game.

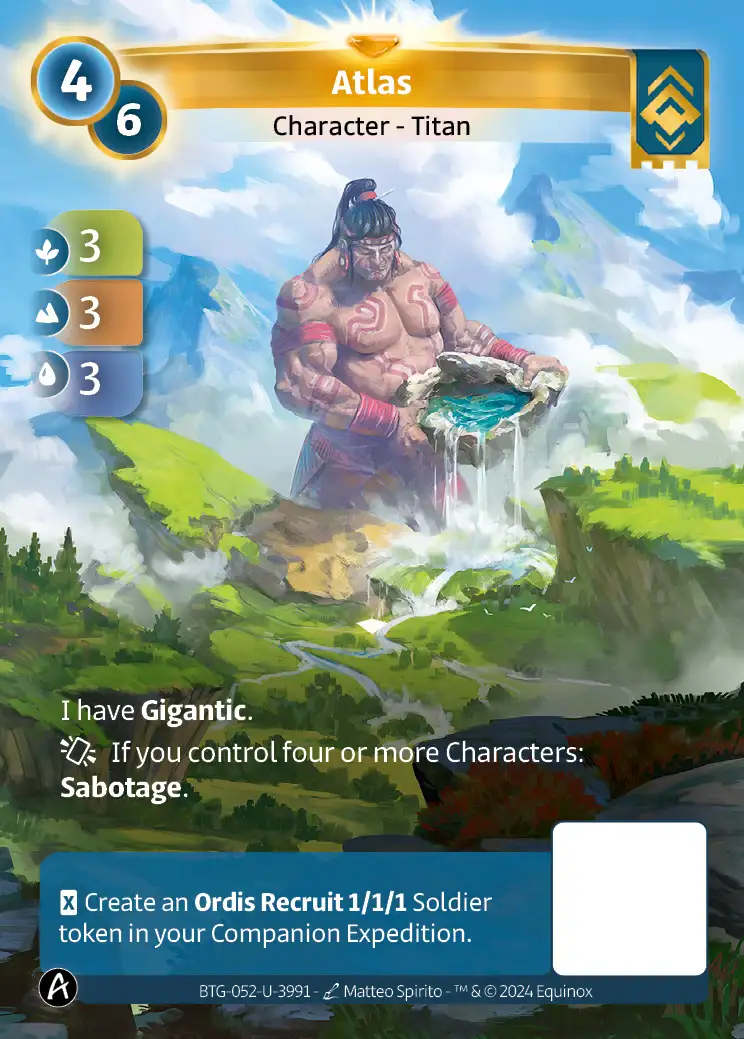
Atlas: 4/7
6/6/6 for 4 mana is an excellent rate. This is a solid T2 play - especially as the first player - that will almost always make your opponent work just to go 1-1. You really don’t want to pay 6 mana for this from reserve, so it’s convenient that the support ability provides a free 2/2/2 for Gulrang.
The games
R1 (W): Waru & Mack
My R1 opponent was working with a limited card pool, so they had to make some concessions, like running one rare Robin Hood and two commons.
My T1 Ordis Gatekeeper let me 1-0 their Ratatoskr (F) as the first player. When they slept their Robin Hood (C) on T2, I had the Sticky Note Seals (C) from my opening hand to send it to reserve. It made a huge difference that this Robin Hood wasn’t the rare, since avoiding the tax on my removal spell meant that I was able to play my Ratatoskr (F) to secure an easy progression.
Top-decking an Ordis Spy (R) was a godsend, as it let me sabotage their Robin Hood (C). Unfortunately, they had another in hand, which taxed me out of my 2-mana plays and forced me to pass, going 1-0.
I drew into the second Sticky Note Seals (C) but opted to push through the tax this turn and instead hit it when my opponent replayed it from reserve. I fought hard for one side, but my opponent’s reserve Ratatoskr (F) along with a Teamwork Training (R) let them comfortably 2-0 me. They weren’t able to set up a bureaucrat for the following turn, however.
Already slightly ahead, I pulled further into the lead when they took a turn off to sleep two Ordis Attorney (C)s. My Haven Warrior (U) let me refuel on the turn the Attorneys woke up, and my boosted tokens let me narrowly win one side. An Open the Gates (C) plus a Teamwork Training (R) let me comfortably close out the game on the following turn.
R2 (W): Teija & Nauraa
A supremely awkward opening hand had me playing out an Ordis Spy (R) as the first player, which to my relief traded with my opponent’s Spindle Harvesters (C). My opponent played opposite the anchored Harvesters on T2, which let me answer with my Ordis Spy (R) from reserve to block, while a non-defender Monolith Legate (C) edged out a water victory against their boosted Harvesters.
On T3, my opponent targeted their own Aloe Vera (U) with a Beauty Sleep (C) for a larger threat the following day. This line worked out for them since I had created a defender token which limited me to 1-0 anyway.
Unwilling to contest their anchored stats going into T4, I played a defending Ratatoskr (F) from reserve in the other expedition. I followed up with my Ozma (C) to draw, but placed it across from the Aloe Vera (U) on the off-chance of Beauty Sleep (C) shenanigans. What I didn’t count on was a Lyra Thespian (F) to overcome my 5/5/5 on the other side, making me regret my cheeky but straight-up wrong Ozma positioning.
They replayed their Aloe Vera (U) from reserve on the companion side and had it self-anchor. The Sandman (U) came in handy here, as the token let me block hero-side and sleep the lone anchored Aloe Vera (U), letting me go 0-0, which is a win for Gulrang.
In the late-game, a Son of Yggdrasil (R) that I couldn’t remove had me scrambling to go 1-1 instead of 0-2. On the following turn, my opponent wisely spread out their threats and used the Son’s support ability to reanchor an Aloe Vera (R). Instead of saving my Teamwork Training for a high-value/anchored threat, I noticed I could target a boosted Kodama (C) and trade on a day that I was almost certain would be a 0-2. Teamwork Training (R) really shone here, as none of the deck’s other 3-drops or removal spells could have managed a swing like this.
On the 10-mana turn, Open the Gates (C) along with suboptimal regions for their second Son of Yggdrasil (R) put me at a 1/2 expedition lead.
A second top-decked Open the Gates (C) let me spend 11 mana for a disgusting 8/8/8 of stats on each side, which was more than enough to close out the game. My opponent had a Mana Reaping in hand, which lined up poorly against Open the Gates (C)’s distributed threats.
R3 (W): Fen & Crowbar
My lead of a Monolith Legate (C) lost to my opponent’s Cernunnos (F), but at least it took the Cernunnos down with it while an Ordis Trooper (C) secured the other expedition.
The following turn, my Ordis Spy (R) trumped their first play and sabotaged their resupplied Hathor (C). It looked like my sabotages wreaked havoc on their curve, as they had to A Cappella Training (C) my Spy and pass, letting it and my Trooper 2-0 them.
I put an Ordis Carrier (R) into mana - too expensive on T3 and vulnerable to Cloth Cocoon (C) - but kept an Ordis Carrier (C), figuring there’s no better time to play it than as the first player. After my “after you”, I could just dedicate my Legate to the less-contested expedition.
Low on cards, I played out a Baba Yaga (R) alongside the boosted recruit, figuring the best I could hope for was a 0-1 that day. The Baba Yaga drew me into my second Ordis Carrier (C), which fit perfectly into my curve. An unlucky roll from their Ouroboros Trickster (C) kept me at 0-1 instead of 0-2.
The free 4/4/4 in stats each turn did an amazing job of holding down my companion side while I blocked on the hero side and finally got to draw off of an Ozma (C) that had been in hand for ages. Because I was able to find solid windows for the Carriers, I hadn’t fallen too far behind, and was able to close the gap to 2/2 once Gulrang’s defender turned off at 8 mana.
I felt very confident going into the 9-mana turn with an Ordis Spy (R) in reserve alongside two Teamwork Training (R)s and an Ordis Gatekeeper (C) in hand. My opponent played a resupplied Ouroboros Trickster (C) from reserve for free off an Inkcaster (R) support ability. They then played The Sandman (R), which they had returned to hand after it was resupplied on the previous turn. It surprised me that they had The Sandman (R) target itself for the sleep and boosts, but I figured they were just confident they could win the less-contested expedition and make big push on the following turn. They played a Tinker Bell (F) from hand, and my only play was to remove it with a Teamwork Training (R), which looked to be enough to 2-0.
My opponent sighed upon seeing the removal spell, and revealed their next play from hand: a Lyra Festival (R). The Trickster had fleeting, The Sandman was asleep, and their Tinker Bell would have been anchored by the Festival had I not sent it to reserve. My opponent was playing a whole different game, and I barely won, not because the Festival was on my radar, but because my best play happened to be a removal spell.
