The deck
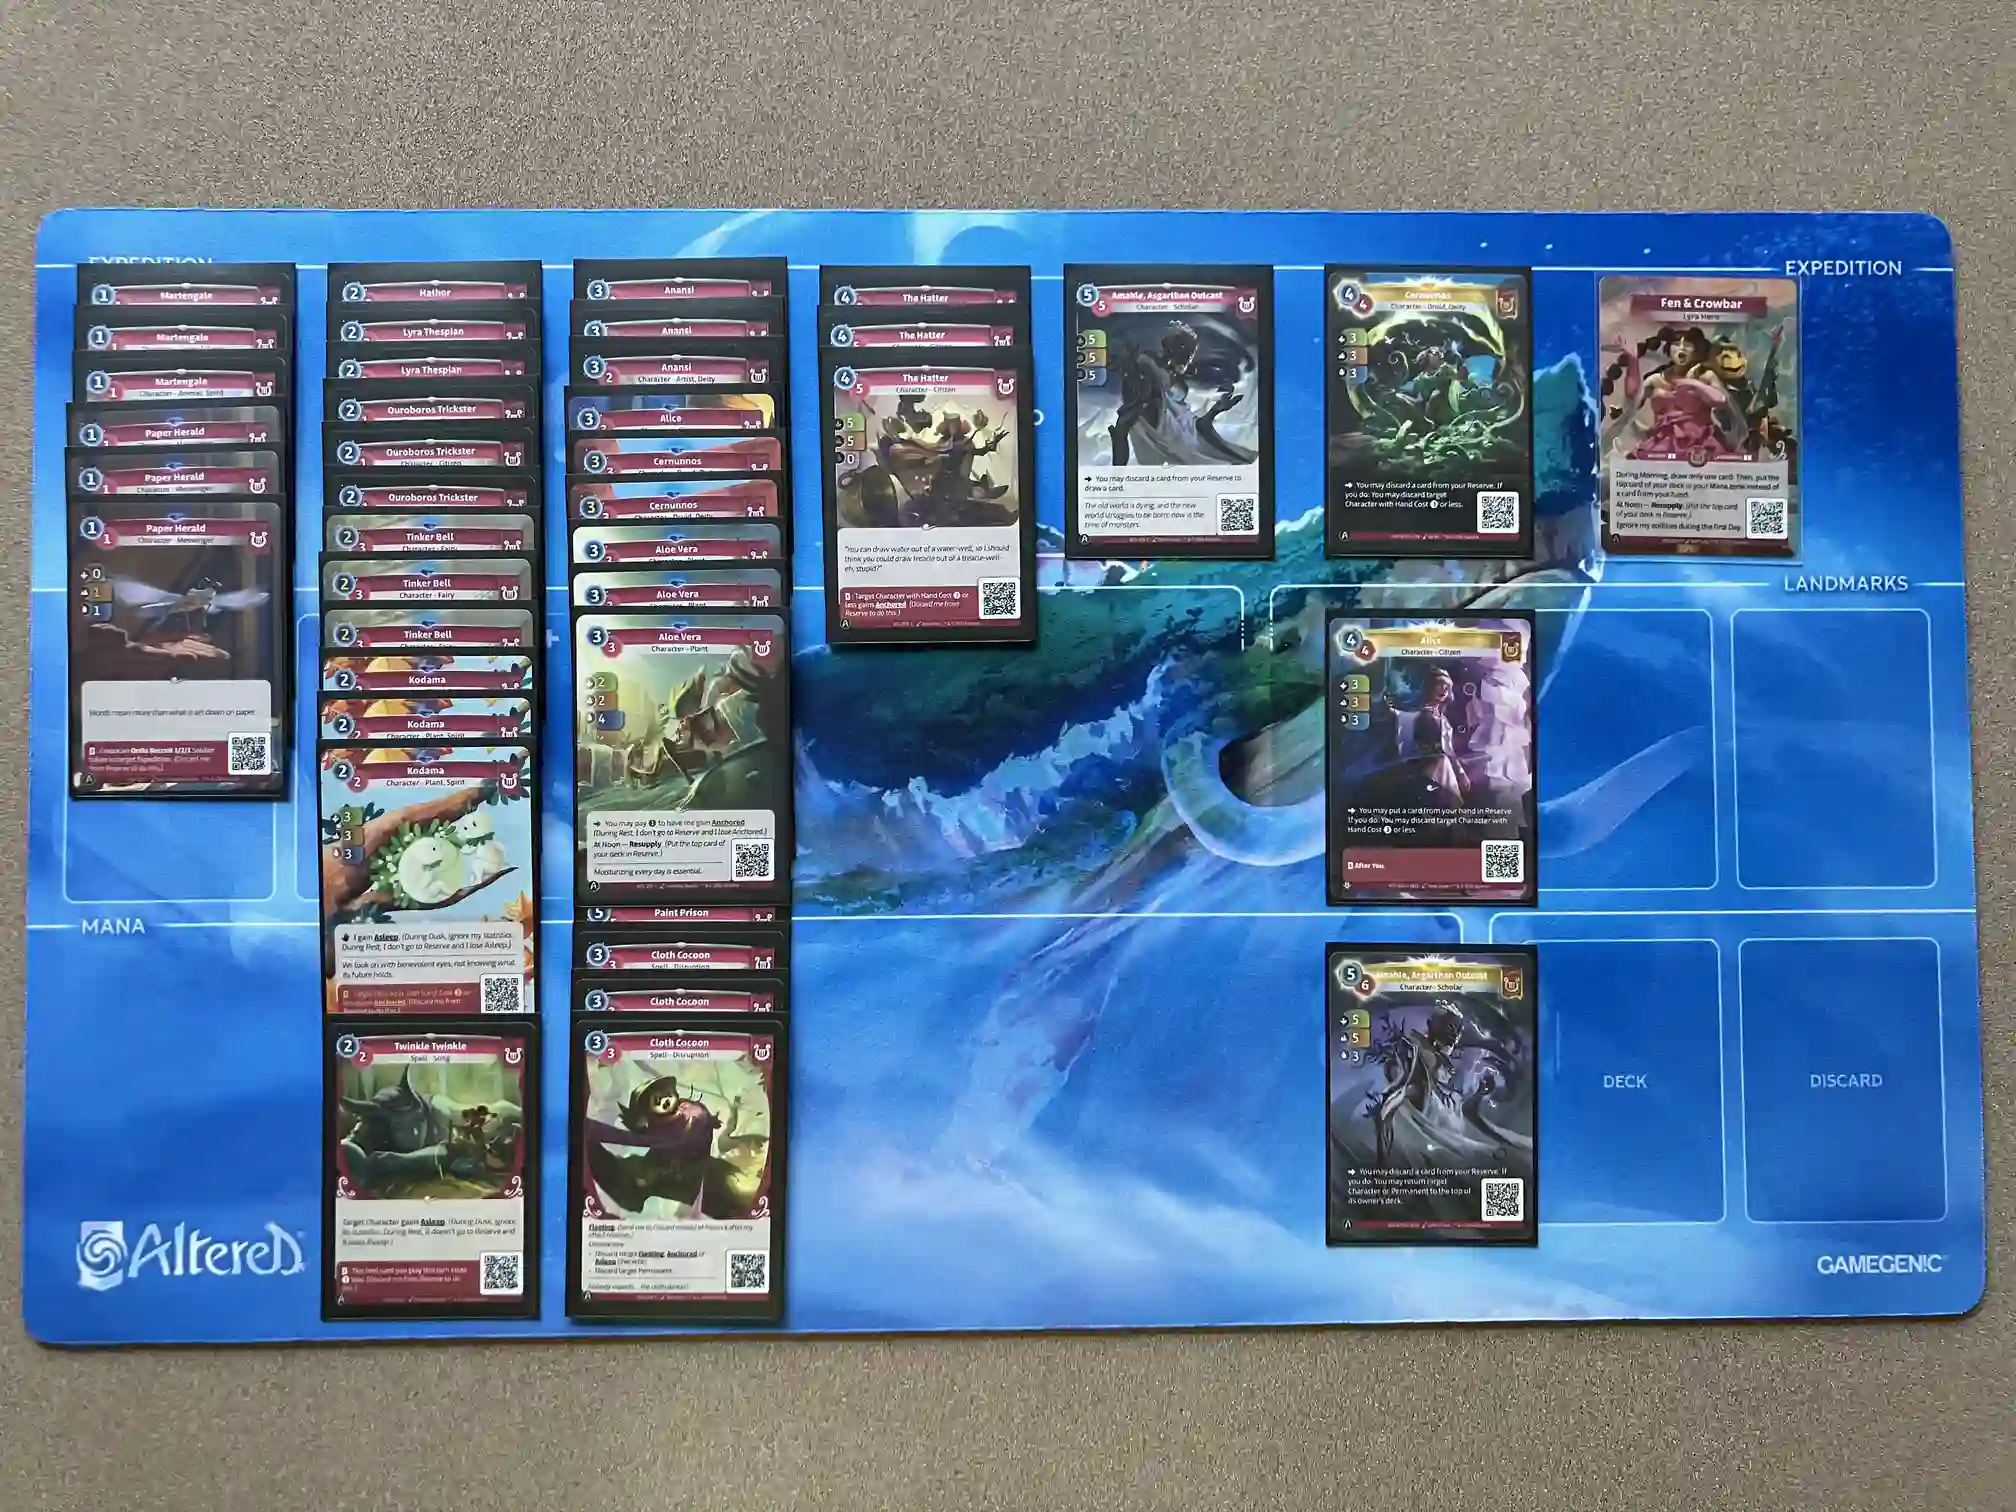
The last time I played this deck.
I’m pretty happy with the build overall, but I’m considering whether my crusade against situational cards may have caused me to overlook strong spells for the deck.
In particular, I wanted to test one copy of Twinkle Twinkle (C). Cost reduction abilities are deceptively powerful, so I’m not unhappy if this gets resupplied. Even if it can’t win me a critical expedition, playing it to sleep my own character in a losing expedition gives it enough utility that I’m happy including it.
The cut was the Ouroboros Inkcaster (C) which I’ve been unimpressed with at common, in part due to the excess of great 3-drops for Fen and in part because it’s been very awkward to get value out of its ability with my build.
Uniques


Amahle, Asgarthan Outcast: 6/7

The games
Round 1 (W): Subhash & Marmo boosted robots
I had a stellar opening hand for this matchup, keeping two Tinker Bell (F)s. I played one on T1 to get it into reserve and sabotage a Brassbug Hub (C) on T2. A Martengale (C) support ability allowed me to play the second Tinker Bell from hand alongside it, but it got hit by an Axiom Scrambler (C) on T3 - only fair. The regions had been favorable for the Tinker Bells, and they lined up well against Brassbugs, so I got off to an early lead.
I somehow managed to resupply the third Tinker Bell on T4, disincentivizing their hero ability usage. They took the turn off here to play a Brassbug Hive (R).
The following turn, they got down a ton of Brassbugs and boosted them up, but I hit another perfectly-timed resupply of a Cloth Cocoon (C). I conceded both expeditions, but was very happy to take the turn to discard the Brassbug Hive and anchor an Aloe Vera (F). They were nearly out of resources at this point, so the anchored stats and card advantage allowed me to close out the game.
Round 2 (W): Basira & Kaizaimon boosts
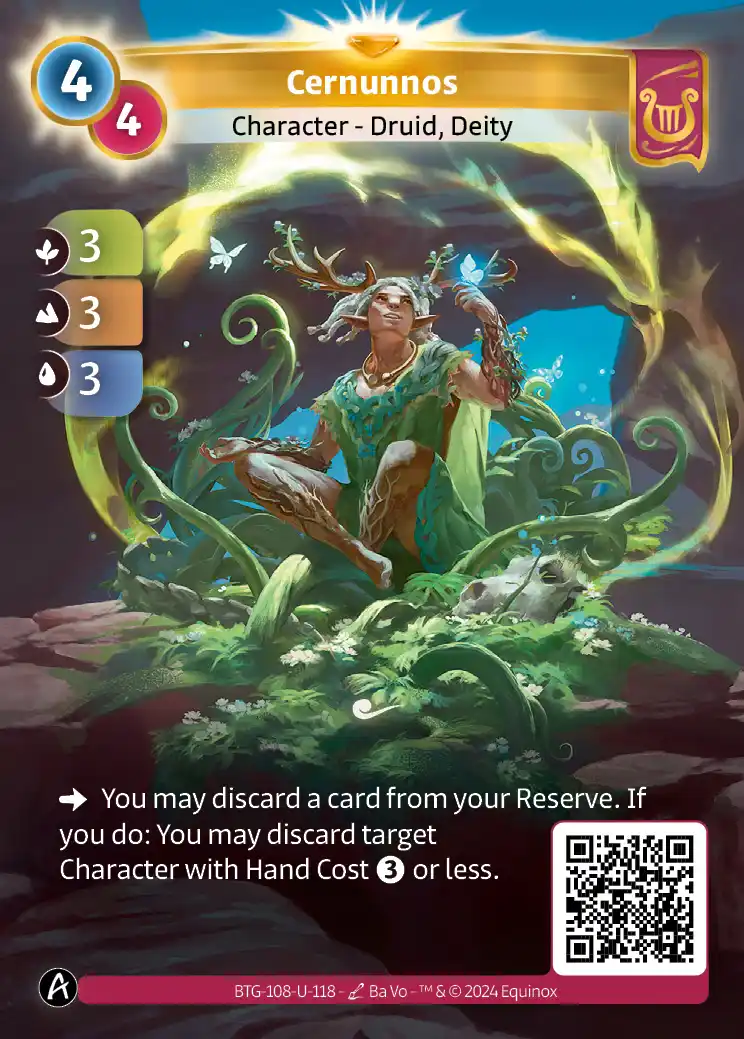
As the first player, my opponent led with a Bravos Bladedancer (C) for 2/2/2. Thinking I could either win or force them to dedicate more resources, I played my Cernunnos (F) to the same side. This was a huge mistake, as they followed up with a Physical Training (C), allowing them to set up a massive Bladedancer and go 1-0 on T1. This is the second time I’ve made this mistake: if you can get blown out by boosts, it’s safest to play the side without a character.
Being the first player on the following turn was quite bad for me, since my hand wouldn’t let me play more than one character. I ended up replaying the Cernunnos (F) to force the Bladedancer, but they also had a Ratatoskr (R) in hand, letting them 2-0 me.
T3 let me catch up, drawing/resupplying into a 1-drop and an Aloe Vera (F), which let me anchor the Aloe Vera on curve. I suboptimized by playing it defending against the first region of a tumult card where the second region was known to not contain water. I realized I should have played it on the other side into a second region where the upcoming unflipped tumult card would have had a 50% chance to contain water.
I hit two beautiful resupplies of a Tinker Bell (F) and an anchor support ability, letting me hit their Mighty Jinn (R) before it could ramp, then reanchor the Aloe Vera. The following turn I resupplied into another reanchor for the Aloe Vera which let me keep it out for a fourth consecutive turn.
The turning point in the game was when they played a Haven, Bravos Bastion (R), the resupplied card from reserve, and dedicated a Physical Training (C) to it. I had been holding onto a Cloth Cocoon (C) for some time and landed a huge blowout with it. Next turn, another Cloth Cocoon (C) off the resupply turned off my opponent’s reserve plays and let me close out the game.
Round 3 (L): Waru & Mack bureaucrats
My opening hand was a dilemma for me since I haven’t had much experience in the matchup. The Cloth Cocoon (C) was a snap keep to deal with a slept bureaucrat, but I was debating between keeping a Paper Herald (F) and Kodama (F) alongside it for a curve-out or keeping a Cernunnos (F) and something else for better stats and more value. I ended up keeping the 1-drop and 2-drop, but it would have more compelling if I weren’t the first player or if my 2-drop could have contributed stats on T1.
They followed up my Kodama with a Monolith Legate (C) into the same expedition. I made a flat-out misplay by committing my Paper Herald to the opposite side, letting them beat me with an Ordis Trooper (R) without giving up on the sabotage, which hit my Herald.
I hoped they would play a Robin Hood as the T2 first player, but they slow-rolled with the Ordis Trooper (R) from reserve, which helped them guarantee a trade. Meanwhile, their nicely placed Legate once again failed to move forward against the Kodama (F), which sabotaged its valuable support ability.
Without access to a 1-drop on T3 (the unnecessarily sabotaged Paper Herald turned out to be relevant), I led with a 2-drop as the first player, which gave them a window to sleep a Robin Hood (R). I had another 2-drop to win an expedition, but the Robin Hood would live to tax me another full turn. I took a loss on T4 but spent the turn to anchor an Aloe Vera (F).
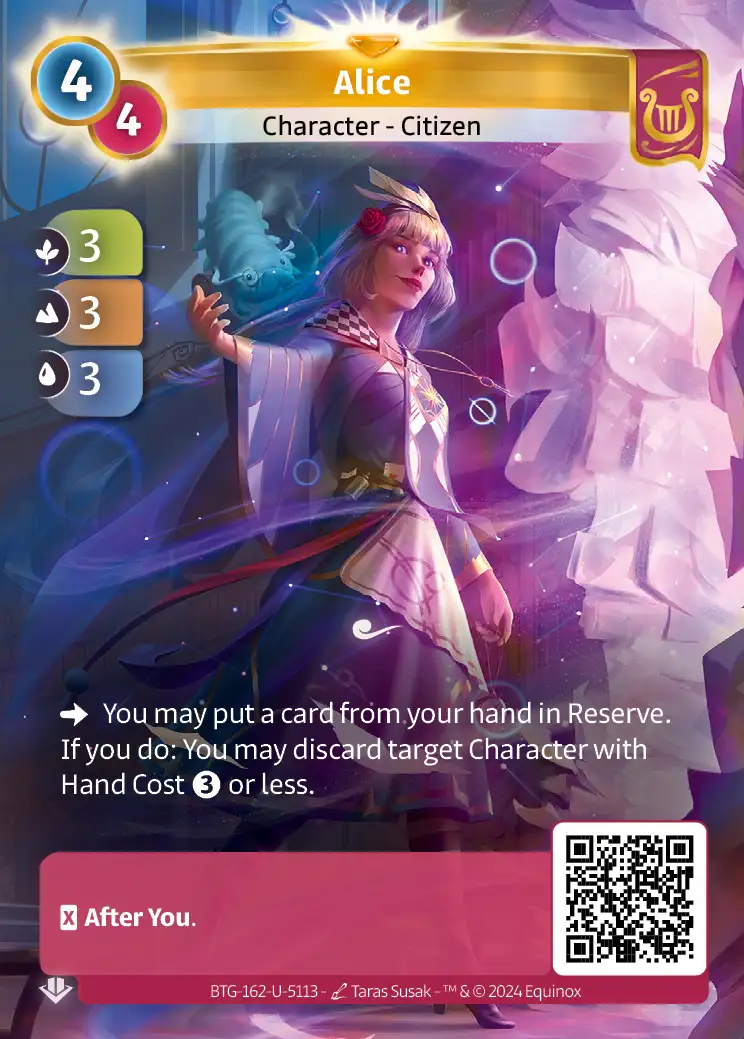
On T4, my resupplies gave me access to two cost reduction support abilities while I eyed down the Robin Hood in reserve. Alice (U) played great here, as it put a Cloth Cocoon (C) into reserve while discarding the non-fleeting Ordis Attorney (R) that had just woken up. With just one card in hand and the Robin Hood in reserve, they led with the reserve Robin Hood, so I Cloth Cocoon-ed it, spending one support ability.
I was hoping for a slept bureaucrat from my opponent, as I had a Martengale (C) in hand, playable on no mana due thanks to a cost-reduction support ability. My opponent, however, played and anchored a second Robin Hood (R) off of their Bountiful Meadow (F), taxing me out of my double-advance play.
The following turn, they played an unslept The Council (C) to guarantee a win on one side.
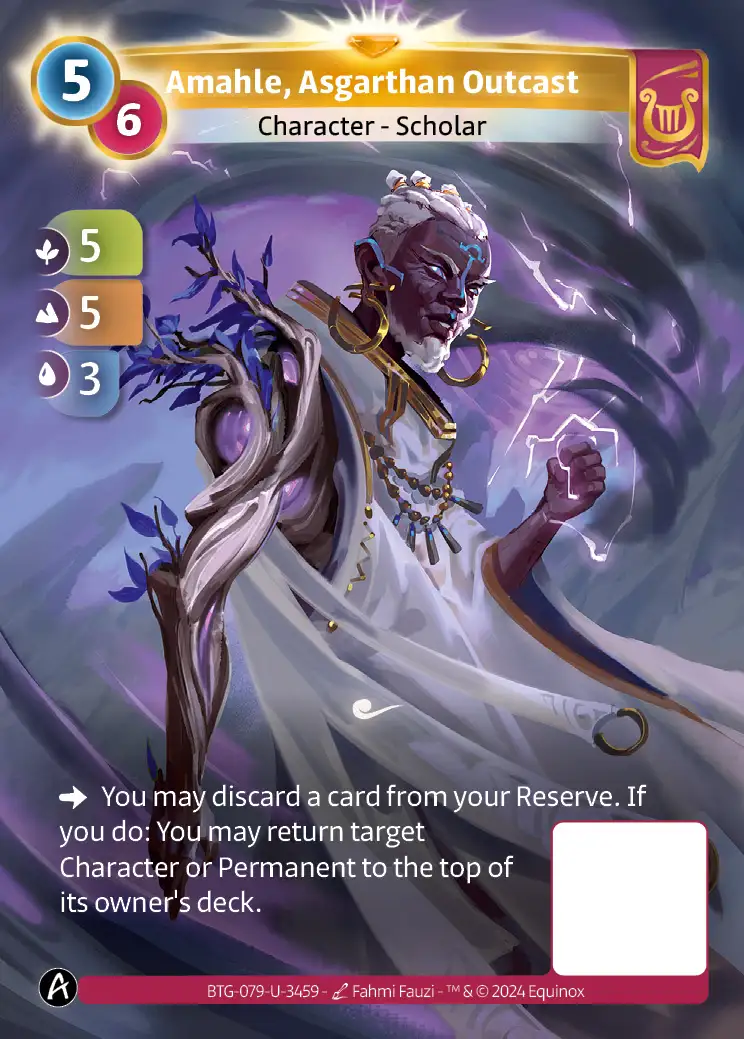
The turn after, with both of us two advances away, they kept both of their drawn cards in hand. A Tinker Bell (F) off the resupply gave me a choice between sabotaging The Council (C) and Robin Hood (R). Against my first impulse, I chose to hit The Council; my opponent had no way of knowing, but if they played it to the correct expedition and forced the Amahle (U) I had in hand into the wrong region, things could have been disastrous for me. Looking back on it, though, it’s likely my sabotage choice was wrong, especially since I ended up playing Amahle (U) into a water region anyway.
They played the Robin Hood asleep, and I played the Amahle (U) to top it, putting me slightly ahead on both expeditions and favored for the next day. I chose to play it in the non-Tinker Bell expedition, hoping it would put me ahead on the following turn and force my opponent to be unable to sleep a bureaucrat just to trade. Unfortunately, my opponent had an Ordis Attorney (R) to edge Amahle (U) out in water and a Teamwork Training (C) to deal with the Tinker Bell, letting their carefully placed Ordis Recruit take the other side for the victory.
I made more than a few misplays this game but learned a lot about the matchup. In particular, I think my best line to win at the end would have been the intuitive choice to sabotage the Robin Hood. This would have let me pressure them into playing not to lose that day, forcing them to play out their hand and possibly even to not sleep The Council. Aggressive enough play would have given me room to save Amahle (U) for a big swing on the final day when they needed to play for stats.
Takeaways
While playing Robin Hood as the first player for maximum taxation sounds appealing, there are situations where it’s better to play it as the second player: you can force your opponent to tap out of their removal, and you can interfere with your opponent’s planned curve.
If you’re in a position to get blown out by a boost spell in the early-game, it’s safest to play to the opposite side.
I had my Waru opponent pretty low on resources. A more disruptive Fen build might have left them out of gas on the final turn.
Overperformers
- Aloe Vera (F): The beauty of this character is that it can fuel itself if you have a high enough density of anchor support abilities and manage to get lucky with the resupplies. In my G2, it practically had the eternal keyword.
- Lyra Thespian (C): There was a turn in G2 where the boost from playing this alongside an Ouroboros Trickster (C) made the difference between me going 0-1 and 1-0 in an expedition.
- Twinkle Twinkle (C): Only the support ability came up, but I was happy to use it for its cost reduction. I’m listing it here because drawing it as a situational non-character notably never caused me problems.
Underperformers
- Amahle, Asgarthan Outcast (C): Again, I never played this. It looked particularly bad against Waru, where it ended up being reserve fodder for Amahle (U). I haven’t played it against Yzmir yet, though, where the resource gain is most likely to matter.
