It’s been a while since I’ve played Bravos, so a new Dracaena (U) seemed a great excuse to bring Basira to the Monday A.W.O.L. weekly. I ended up finishing 3-3 for 18th of 47.
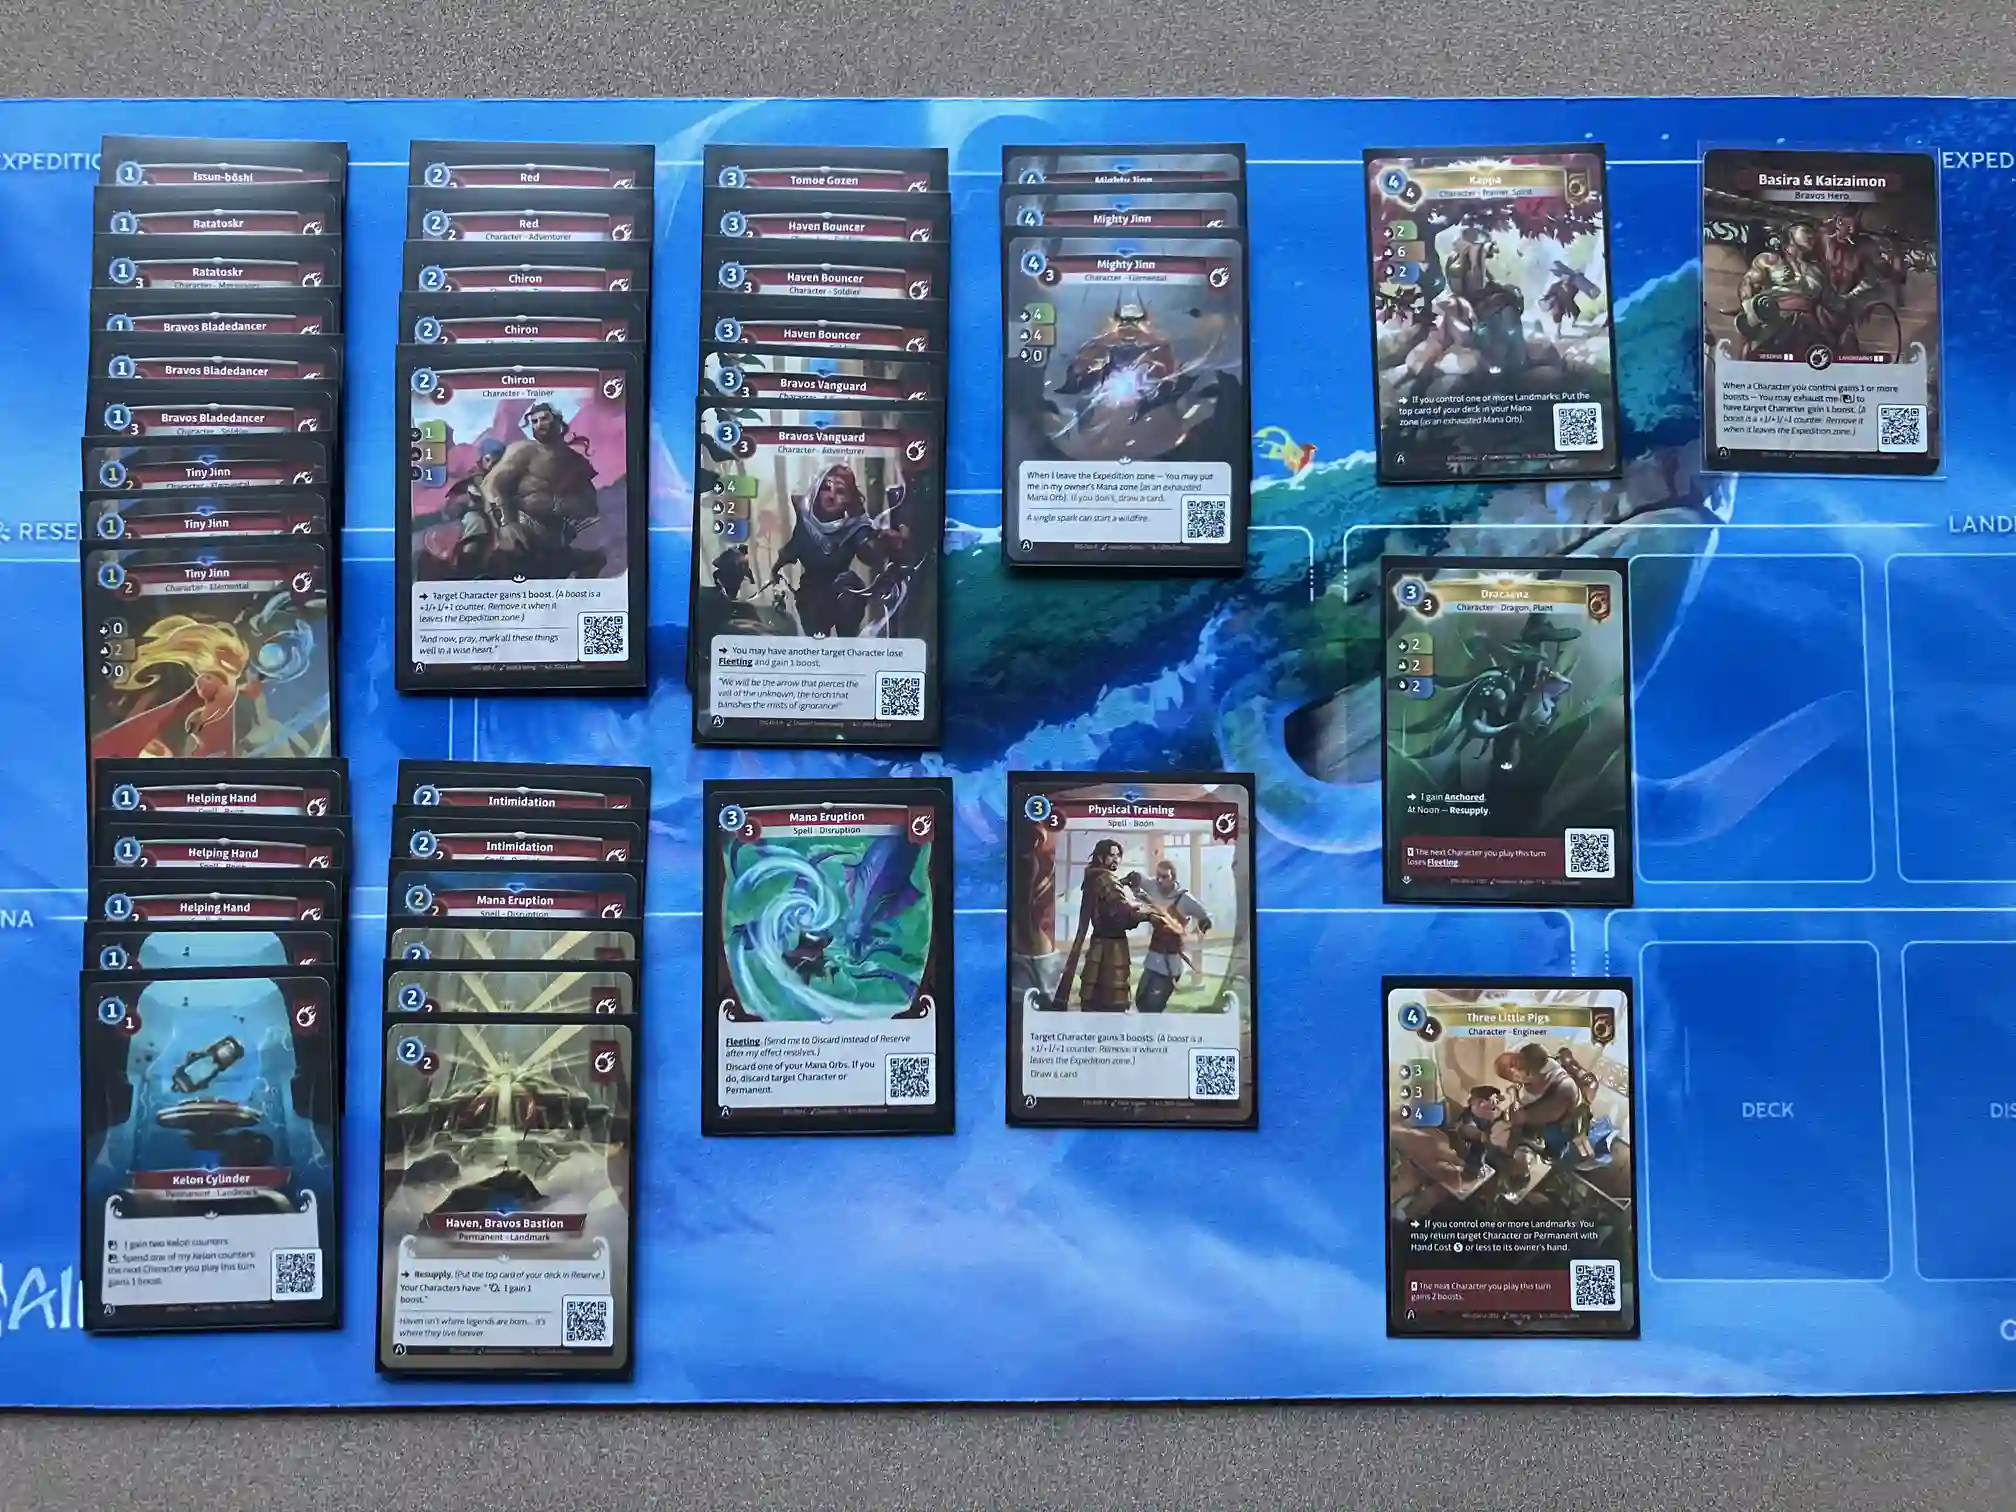
The deck
The last time I played this deck.
This build is very similar to my last one. I haven’t been playing the deck much, so I can’t vouch for all of the cards I’m running.
Uniques

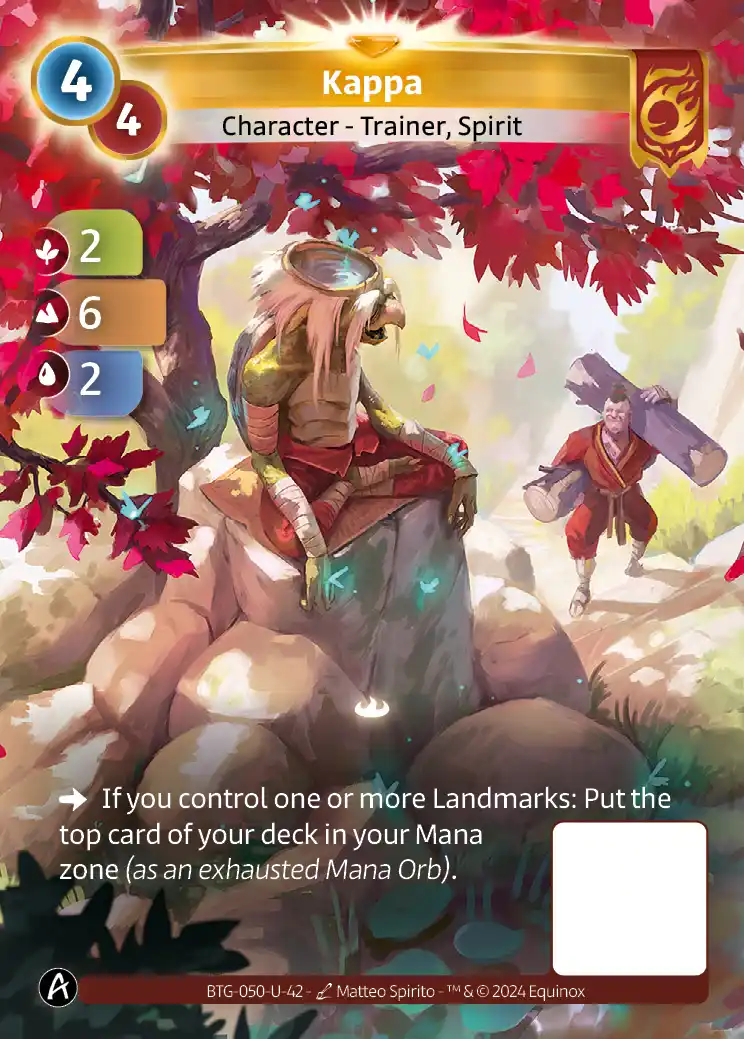
Kappa: 6/7

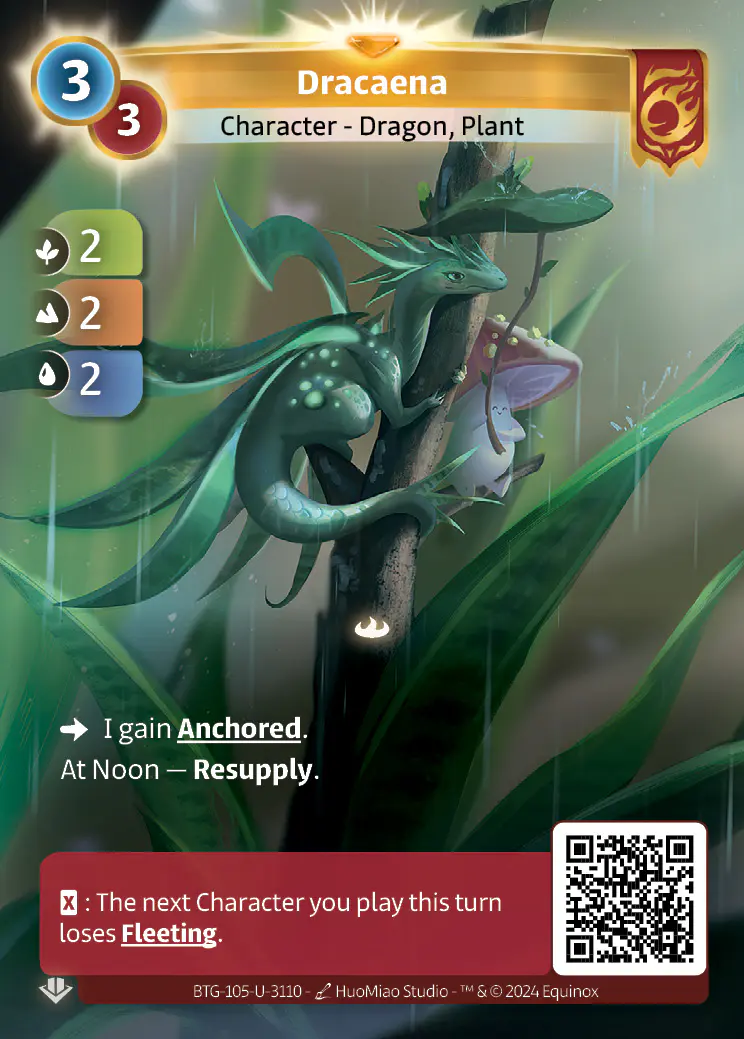
Dracaena: 5/7
This mini-Aloe Vera provides card advantage and an anchored character, both of which are highly valuable in a Bravos boost deck. Out of Basira, a single Helping Hand (C) or Haven, Bravos Bastion (R) boosts this into an anchored 4/4/4 that spots you another card in reserve, ready to be boosted by Haven.

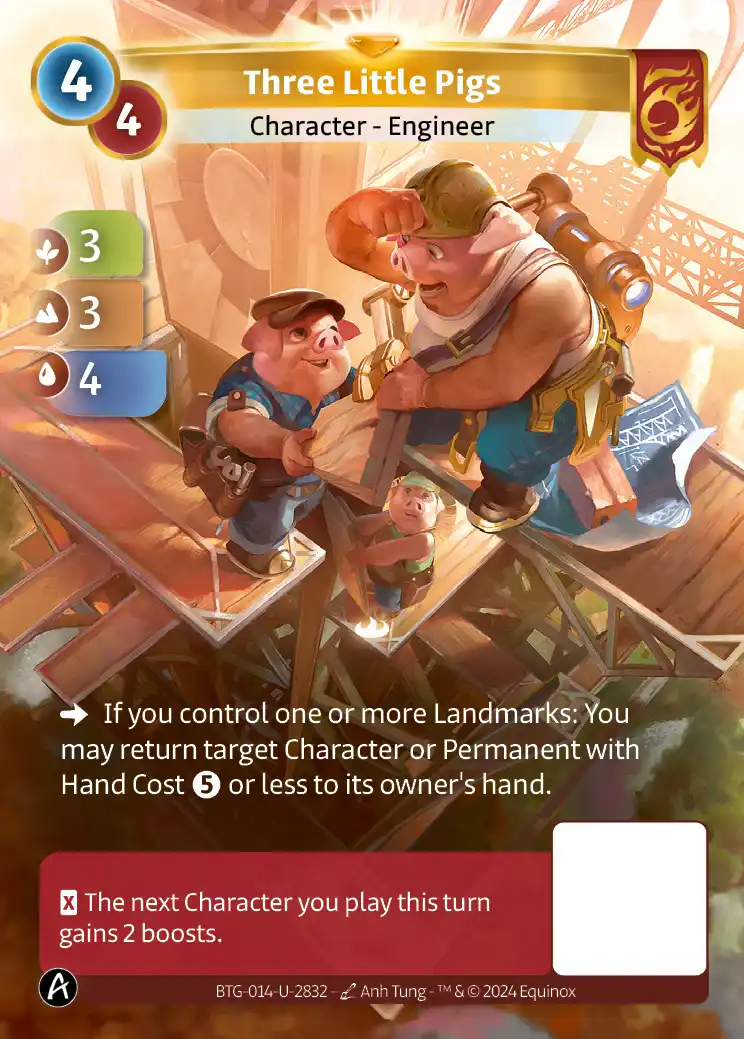
Three Little Pigs: 5/7
This offers an excellent rate on an all-purpose tempo removal effect in a landmarks deck. It’s at its best in a deck that can ramp and use the mana advantage to find a juicy target. The ability triggers from reserve as well as from hand, so Bravos Vanguard (R) can turn this into a repeated bounce effect.
This one’s not quite as strong as I initially hoped, especially now that most of the top decks are primarily running low-cost characters. Despite being a great finisher, it usually won’t hit something worthwhile until around D4.
I drew this in my opening hand three times today; of those, I put it into mana twice, and the time I didn’t, it just removed an Issun-bōshi (C) then drew a sabotage.
Takeaways
Basira’s ability to place a 1/2-drop in each expedition and boost one of them at will is especially strong on D1 and D2. Make sure you’re using it to get an early expedition lead.
Since Ratatoskr (C) and Bravos Bladedancer (C) are both more expensive from reserve, I experienced a lot of great D1s followed by awkward D2s: I frequently didn’t have a play from hand and a play from reserve that totaled 4 mana or less. I would consider adding more copies of Issun-bōshi (C), Red (C), or Bravos Pathfinder (C).
Choose to draw with Mighty Jinn (R) if you’re at the stage in the game where you’d like one additional mana orb next turn but not two. This lets you see three cards and put the worst into mana as opposed to putting Mighty Jinn into mana and keeping the top two cards of your deck.
Overperformers
- Mighty Jinn (R): The card draw this provides is extremely valuable. I never put it into mana when not fleeting, and often chose to draw even when it was fleeting.
- Chiron (C): I still feel like this common is Basira’s best 2-drop: with the hero ability and another character, it’s 3/3/3 distributed as you choose among any number of target expeditions.
- Mana Eruption (R): In several games, the rare’s cost reduction was the difference between a good turn and a bad one.
- Helping Hand (C): Close to card draw. I wasn’t unhappy when I only cast the front side and let it overflow from reserve.
- Kelon Cylinder (R): I’m mainly running these to enable my landmark-requirement uniques more consistently, but they’ve impressed me as a way to pass priority and guarantee that I can trigger Basira’s hero ability specifically with the last character I play each afternoon.
Underperformers
- Intimidation (C): This never ended up being better than a 2-mana character in today’s games. In one game, resupplying into one of these instead of a character was a disaster.
- Tiny Jinn (R): I think I still like this overall, but in resource-light games, the ramp didn’t enable stronger plays, and drawing into more of these was a disappointment.
The games
Round 1 (W): Fen & Crowbar spells

Tiny Jinn (R) needs to go companion-side to guarantee that Kappa (U)'s mountain stats are relevant next turn.
I got off to a strong 1-0 start with Tiny Jinn (R) and Bravos Bladedancer (C). Haven, Bravos Bastion (R) and Kappa (U) let me stay even on expeditions while ramping and setting up my boost engine.
My opponent slept Kappa (U), then gave it fleeting, but doing so forced their reserve to overflow by two. Passing priority with 1-drops and Intimidation (C) pressured them into letting their reserve overflow again, this time by three, in order to not fall behind.

Sabotaging Hathor (C) prevents The Sandman (C)'s from-hand effect and ensures no more than one use of A Cappella Training (C).
Since I ramped with Tiny Jinn (R), Kappa (U), and Mighty Jinn (R), I was able to convert my mana advantage into card advantage, keeping both cards drawn from D5 onwards. Even on resources but with two Havens out, I was able to close out the game from 1/2 on expeditions.
Round 2 (L): Treyst & Rossum

I salvaged my mispositioning of Tiny Jinn (R) opposite the Tinker Bell (U) by boosting it so that it could ramp before being sabotaged.
I was able to limit the damage that my opponent’s D1 Tinker Bell (U) was able to do thanks to a Haven Bouncer (C) top-deck.

The turning point of the game: my opponent had the Kelon Burst (C) for my Haven (R) + Basira-boosted Dracaena (U).
My opponent was able to get Treyst’s hero ability online with two Haven, Bravos Bastion (F)s by D4, which this deck has no easy way to beat.
Round 3 (W): Treyst & Rossum

Alongside Haven (R) and Dracaena (U), I kept Mana Eruption (R) to deal with my opponent's Haven (F) when it arrives.
This game was a wet noodle fight of a Haven mirror. My opponent going for an Armored Jammer (C) gave me a window to sabotage their Ada Lovelace (R) from reserve, halting their scrap counter progress.
When my opponent followed up by playing their Haven (R), I immediately went for the Mana Eruption (R). Going down a mana orb on D3 is worth taking out Treyst’s first Haven (F), especially because it turns off Dr. Frankenstein.

My opponent's Kelon Elemental (U) discarded my Haven (R), but I pulled ahead on expeditions.
Sabotage and removal left us both empty-handed. I recovered from the Mana Eruption (R) by ramping with a Tiny Jinn (R) and drawing with a Mighty Jinn (R). My opponent bounced back by not mana-ing a card and turning on Treyst’s hero ability.
At 1/2 on expeditions, my opponent was unable to block me in mountain thanks to Kappa (U)’s massive mountain stat.
Round 4 (L): Basira & Kaizaimon
Bravos Bladedancer (C) and Chiron (C) let me 2-0 on D1 against an Axiom Salvager (F) while my opponent set up a Haven (R). A D3 of Tiny Jinn (R), Bravos Bladedancer (C) and Helping Hand (C) let me 2-0 again while ramping, putting me ahead at 2/6 on expeditions.
Meanwhile, my opponent was able to get their powerful unique into reserve, a Foundry Armorer (U) which creates a Brassbug each time it’s boosted. When they played it out the following turn alongside a Bravos Vanguard (R), it received three boosts in total, producing an overwhelming 16/13/13 for 6 mana.

What's the best way to play around these Foundry Armorer (U)s? The one in reserve creates a Brassbug when it gains 1 or more boosts.
When my opponent played a second Foundry Armorer (U), I sabotaged the Bravos Vanguard (R), figuring I couldn’t deal with the additional boost and/or two more turns of these uniques.
Only after they played out the 3-mana Foundry Armorer (U) from reserve did I process that the 4-mana Foundry Armorer (U) would also trigger for each boost the other received, spawning a total of four Brassbugs. Miraculously, I was able to go 1-1 thanks to a lucky Haven (R) resupply and my opponent’s Brassbug positioning.
The better line would have been to hold onto the Haven Bouncer (C) and sabotage the stronger 4-mana Foundry Armorer (U) on the following turn.

Thanks to two Haven (R)s, this Foundry Armorer (U) is 4-mana for 14/14/13 in stats.
The other part of the 4-mana Foundry Armorer (U) that I didn’t parse was that Basira’s hero ability can target one of the generated Brassbugs before the arrow trigger resolves. Thus, the Haven-boosted Armorer (U) and the Basira-boosted Brassbug fulfill the arrow condition, giving a Brassbug two more boosts and triggering the Armorer (U) yet again.
I discarded the Foundry Armorer (U) with a Mana Eruption (R) to prevent Helping Hand (C). I was able to tie on one expedition, one stat away from winning the game.
My opponent won on the next day when they sabotaged my only character in reserve, and my second Haven (R) resupplied into Intimidation (C).
Round 5 (L): Waru & Mack
Despite starting with an early 2-0, I seriously misplayed by keeping an Intimidation (C) on D2. The card can be valuable in this matchup to remove a slept bureaucrat, but being priced into playing it as the first player meant I had to fire it off on an underwhelming target, earning me a 0-1.
My opponent’s The Sandman (F) on my Mighty Jinn (R) won them both expeditions while delaying my card draw. Critically, it moved them from a forest-mountain region into a water region where my Jinn’s blocking power was nonexistent.

The Council (R) looked very impressive in this matchup.
A slept The Council (R) turned off my Haven-boosted Ratatoskr (C), which pressured me into leaving that expedition uncontested. This gave them breathing room to sleep a Quetzalcóatl (R) while only going 0-1. The Council (R) later forced a Mana Eruption (R) so that I could turn on my Haven and Bravos Vanguard (R) in a forest region, but my opponent had a second The Council to turn their abilities right back off.
Ahead on expeditions and resources, my opponent had no trouble closing out the game.
Round 6 (W): Kojo & Booda
My opponent got off to a rough start: I passed priority with a Kelon Cylinder (R), and my Chiron (C) was able to 1-0 their Haven Bouncer (C) with the help of Basira’s hero ability. Their Mighty Jinn (R) while water was active in both expeditions let me easily 2-0.
Ramp with a Tiny Jinn (R) enabled a D4 Tomoe Gozen (C) the turn it was drawn.

Ratatoskr hero-side while saving the Kelon Cylinder and Basira boosts for Tomoe Gozen meant their Mighty Jinn would result in a 1-0 or 2-1.
Tomoe Gozen (C) and Bravos Vanguard (R) into perfect regions let me close out the game.
